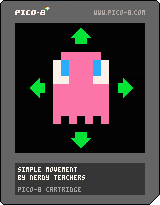
Game Mechanics:
Simple Movement
![]()
Explanation of Code!
The first function we usually write is the _init() function. It initializes and sets up the game with the variables we will use.
function _init()
    player_x=60
    player_y=60
    speed=1
end
We wrote 3 variables that are numbers. The numbers we set here will be what they start as, but they can be changed while the game is playing. The first two variables are for the position of the player.
player_x is the number of pixels right from the left side of the screen.
player_y is the number of pixels down from the top side of the screen.
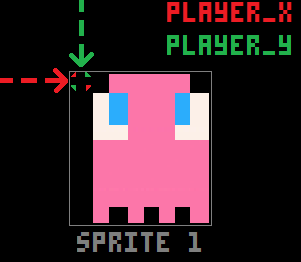
Everything that has a position on the game screen, uses X and Y coordinates. Changing the X coordinate will move the position left or right. Changing the Y coordinate will move the position up or down.
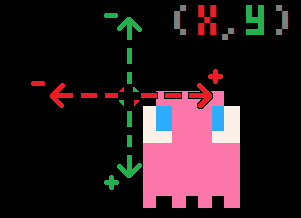
The second function we want to write is the _update() function. It will hold the logic of the game and repeat many times every second. In here, we will check if the player is pressing buttons and then change the player's position on the screen.
function _update()
    if (btn(0)) then player_x -= speed end -- left
    if (btn(1)) then player_x += speed end -- right
    if (btn(2)) then player_y -= speed end -- up
    if (btn(3)) then player_y += speed end -- down
end
This is the main logic for simple movement. Remember the directions of the X-axis and Y-axis and understand them with the PICO-8 controller/keyboard inputs.

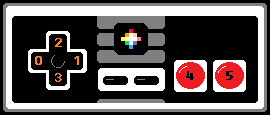
Each button input has a number. You can also use the PICO-8 Glyphs instead, which we like to use in our later tutorials but the default way is to use the button numbers like this. Let's look at each line of code for each direction.
(Note that speed is 1, so we will replace speed with 1 now to make it more clear)
if (btn(0)) then player_x -= 1 end
Check if button zero (left) is pressed, then subtract from the player's X position.
if (btn(1)) then player_x += 1 end
Check if button one (right) is pressed, then add to the player's X position.
if (btn(2)) then player_y -= 1 end
Check if button two (up) is pressed, then subtract from the player's Y position.
if (btn(3)) then player_y += 1 end
Check if button three (down) is pressed, then add to the player's Y position.
Changing the speed number above in the _init() function will change how many pixels the player moves each frame. Here is what it looks like when speed=1 so that 1 pixel is added to X each frame to move the player to the right:

The third and final function we need here is _draw(), used for drawing everything to the game screen.
function _draw()
    cls()
    spr(1,player_x,player_y)
end
The first line inside of our drawing function is usually cls() which stands for "Clear Screen". If we don't clear the screen (erase everything) before drawing where the player moves to, then we will see a trail of the player sprite filling up the screen as it moves.
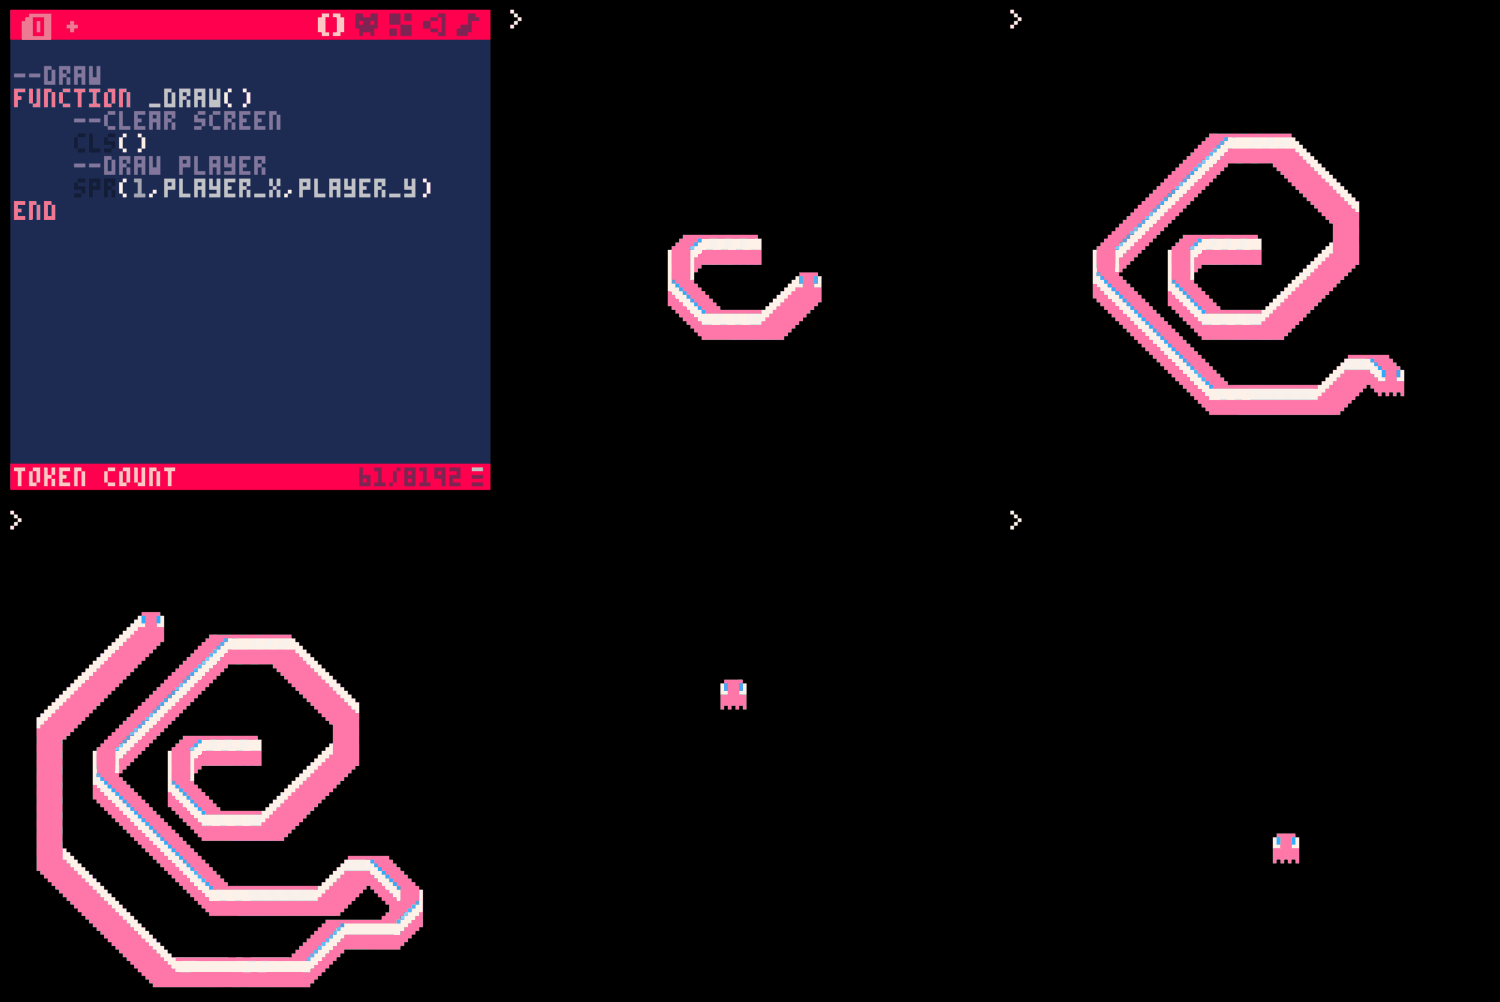
The last line of code we need is to draw the player sprite on the screen. The simplest way to draw a sprite to the screen is to use the defaults of the spr() function. This is the minimum information the function needs:
spr( sprite_number , x , y )
The sprite number we will set to 1 because that is where we drew the sprite in the sprite sheet. If you want to animate the sprite, you should make the sprite number a variable so you can change it as it draws.
The X and Y are needed to know where to start drawing the sprite on the screen. We already made them variables that will change based on the player button inputs. Remember back in _init() we set the player's X and Y to variables named player_x and player_y.
spr( 1 , player_x , player_y )
That's it! Try to get your own sprite moving around on the screen!
![]()
function _init()
    player_x=60
    player_y=60
    speed=1
end

function _update()
    if (btn(0)) then player_x-=speed end -- left
    if (btn(1)) then player_x+=speed end -- right
    if (btn(2)) then player_y-=speed end -- up
    if (btn(3)) then player_y+=speed end -- down
end

function _draw()
    cls()
    spr(1,player_x,player_y)
end![]()

8375
4 Oct 2022


